For almost 15 years, I have been gifting diaper cakes to my friends in celebration of their bundles of joy. They are so fun to create! The best part about a diaper cake is that it can serve as table decor for the shower. In this post, I will walk you through the instructions for creating your own diaper cake and share my personal tips along the way.
Here’s what you need to know:
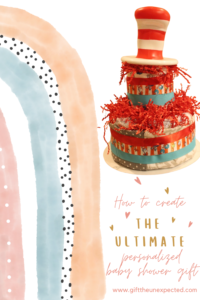
WHAT ARE DIAPER CAKES?
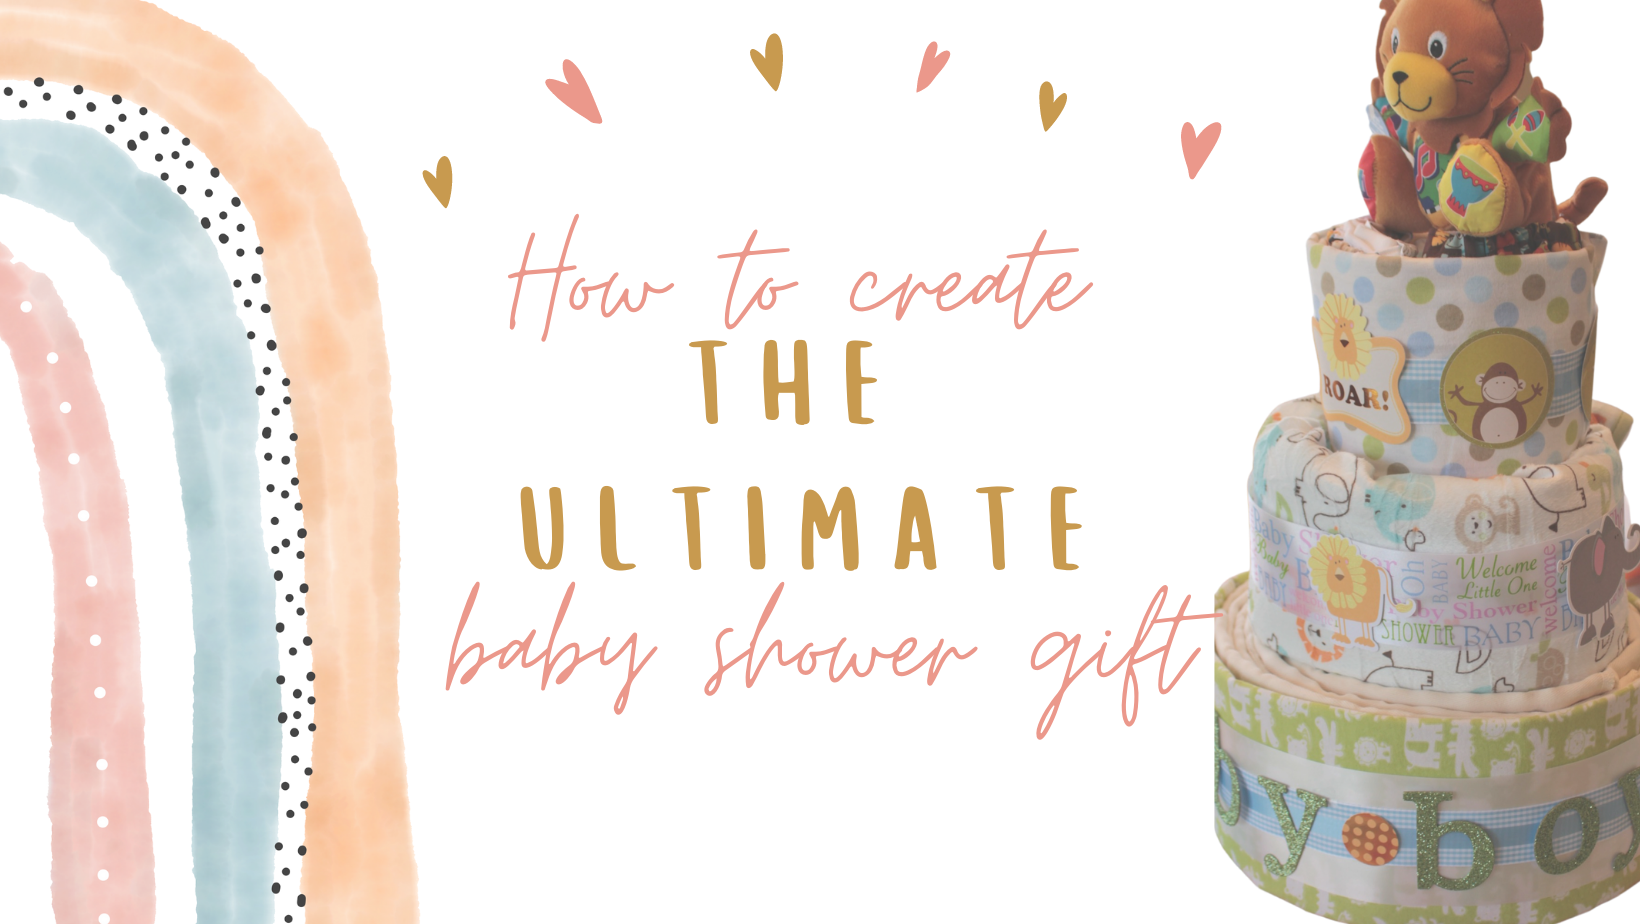
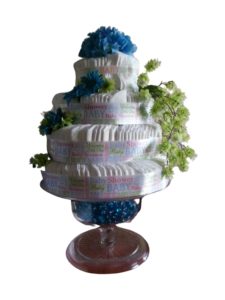
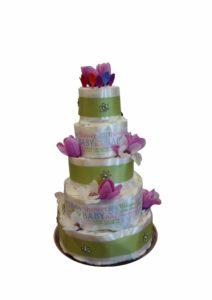
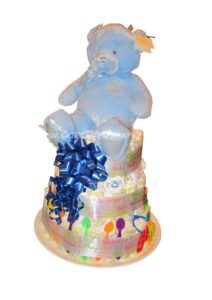
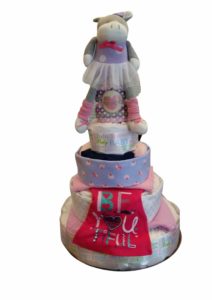
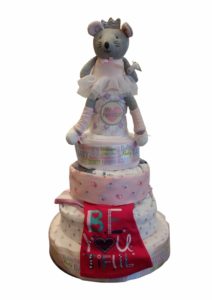
If you are not familiar with diaper cakes, they are beautiful creations of stacked diapers put together in the shape of a tiered cake. Below are pictures of the various diaper cakes I created for friends and family. These are not edible. At some showers, I have had guests try to eat my diaper cakes (I kid you not)! I guess it’s a compliment if they think the diaper cake is so beautiful it looks like a real cake.

Most diaper cakes you see are pretty basic in terms of ingredients – diapers. And while they look beautiful, I like to take them to the next level. I always personalize my diaper cakes by including different items from the registry and some surprises around and inside the cake. My basic recipe includes washcloths and swaddles to wrap each layer, bottles of lotion or clothes as my anchor inside to keep the cake upright, and a theme-matching toy as my topper. And of course, crinkle paper or ribbons always add the right finishing touches!
A few weeks ago, my neighbor gave birth to her first child. Because of the pandemic, I wasn’t sure if she had a shower to celebrate this joyous occasion. So I decided to create a diaper cake to gift her. This time, I decided to take pictures so I could take you along for the ride. So let’s start creating the best gift ever!
Hi there! Thank you for visiting my blog! This post may contain affiliate/referral links, which means I’ll receive a commission if you purchase through my link, at no extra cost to you. Please read the full disclosure here.
INGREDIENTS
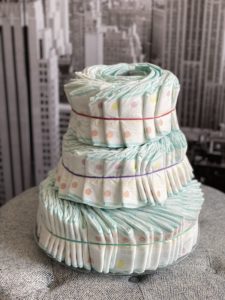
So the base for any diaper cake is, you guessed it, DIAPERS! The number of diapers you want to use will depend on the size of the cake you want to make. For the diaper cake I’m discussing in this post I used 112 size 2 diapers. This was enough to make a 3 tier cake.
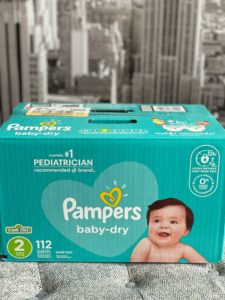
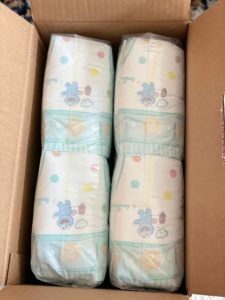
I have used all brands of diapers from Kirkland (Costco Brand) to Huggies, my personal favorite. Usually, I just check to see what the Parents-to-Be put on the registry and buy that brand. If they didn’t register for diapers, then they are new parents and don’t know what they are in store for! Just kidding (but am I?).
In those situations, I go with Pampers since that seems to be the one most new parents start off with first. I’ve also made a cake with reusable diapers because that’s what the parents planned to use. While the technique was a little different, they work just as well as the regular diapers.
In addition to the diapers, for this diaper cake, here’s what I used:
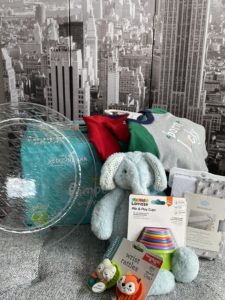
- A 16″ plastic platter like this one. Because the diaper cake can get heavy depending on how many tiers you make, I suggest having some type of base at the bottom to hold the weight. For a two-tier Dr. Seuss diaper cake I did, pictured at the top of this post, I used a 10″ cake board as my base.
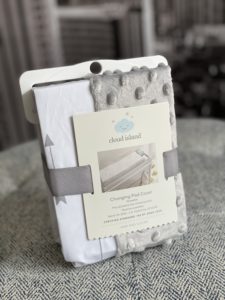
- Diaper changing pad cover – while I couldn’t find the exact one the registry, I found something similar and used it to set the theme.
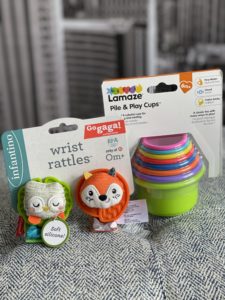
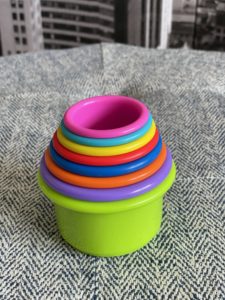
- Little toys like this stacking cups toy and wrist rattles.
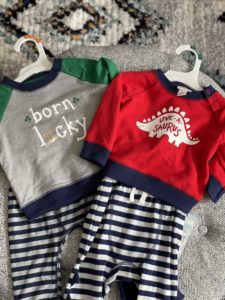
- A couple of baby outfits.
PRO TIP: I always check out the clearance section for clothes because it allows me to buy more outfits in my budget. Also, make sure to size up. Parents usually register for 3-6 months, but buying 9, 12 or 18 months will make sure they are prepared for their fast-growing baby. Keep in mind the seasons when buying ahead though.
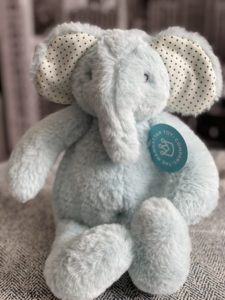
- A stuffed elephant for the cake topper. You can use anything you want, particularly if you are doing a specific theme.
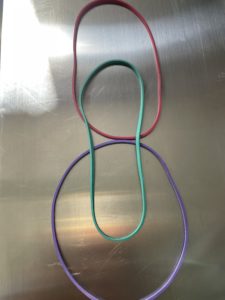
- Extra-large and regular rubber bands.
- Hot glue gun, glue dots and/or tape.
Cellophane gift wrap (if want to wrap up the diaper cake like a gift basket).
STEP 1 – BUILDING YOUR BASE CAKE LAYER
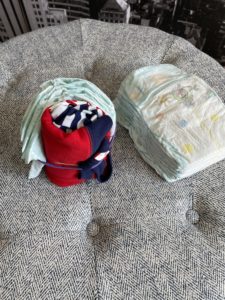
I decided to use the two outfits as my center base for tiers. Looking back, it wasn’t that great of an idea because while the cake layer itself was stable, I didn’t have something tall enough to keep the cake stable. This is why I usually like using lotion bottles – something to connect all the tiers. But these cute little outfits still got the job done.
FUN TIP: For the center, use a beer glass or tall candle vase and stuff it with mini liquor bottles or something fun for the parents. Because let’s face it – babies are hard work, and a shot of tequila may help!
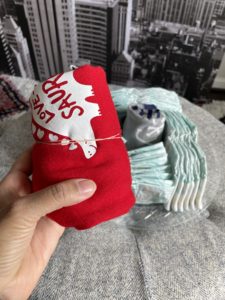
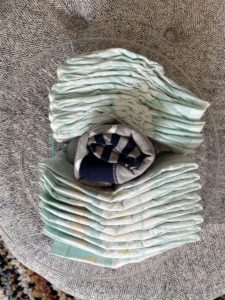
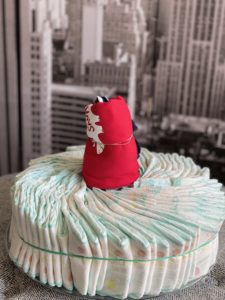
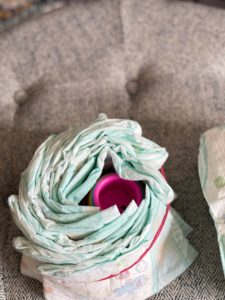
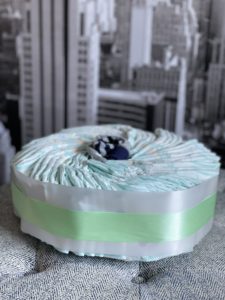
First, I rolled up the outfits nice and tight and wrapped them with a rubber band. Then, I stood one up in the center of the platter and started standing diapers around it to get a shape.
Now, there are two ways to build your cake. First, you can individually roll each diaper and wrap a rubber band around it. This is time-consuming but makes it easier to stand up the diapers. But, just as time-consuming as it is to roll them up, it takes a long time to unroll them – something a new parent may not have the patience for.
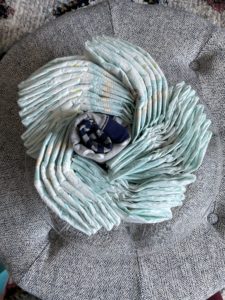
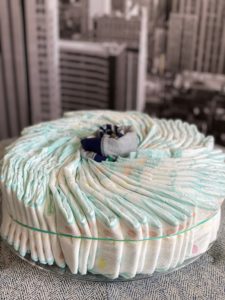
The second way, which is difficult but my preferred way, is standing the diapers on their side and just fanning them around the center base. While it is difficult to get the diapers to cooperate, the end result looks elegant because the diapers look like frosting.
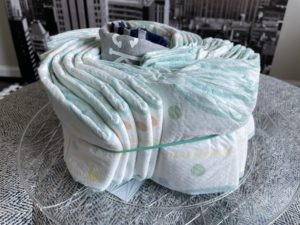
As you can see in the picture above, I stacked the diapers in almost a square shape at first. Then, I wrapped one of the extra-large rubber bands around the layer. And now it’s time to fill. I just kept adding diapers, fanning them out, until I was happy with the size of the bottom layer of the cake.
This may take some time, but I promise you it’s way faster than rolling over 100+ diapers individually!
STEP 2 – BUILDING YOUR NEXT CAKE LAYERS
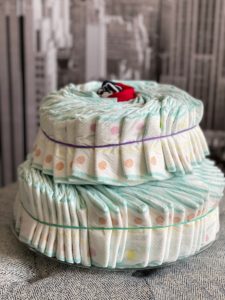
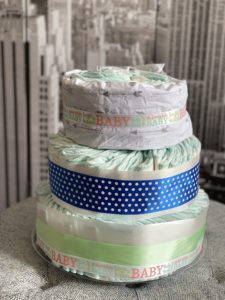
On to the second layer. You want to follow the same steps above, but keep in mind since this is the second layer, you need it to be smaller than the first layer. So as you build it, if it starts to equal the same size as the bottom, take some diapers out and re-fan it.
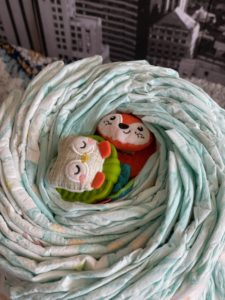
Repeat as necessary depending on the number of tiers you are doing. In my case, I did three tiers. For the top tier, I wrapped the diapers around the stacking cups, placing the wrist rattles inside the cups. A nice surprise when the parents-to-be take off the topper!
STEP 3 – LET’S DECORATE!
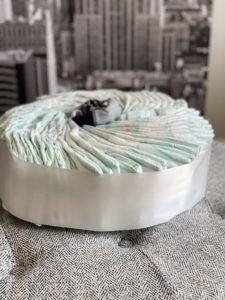
So here comes the fun part! You have your cake layers done. Now it’s time to wrap them up. I usually like to use swaddles like this to wrap around the bottom cake layer. In this case, I used a 4-inch wide white ribbon to cover the diapers and then used different color ribbons to accentuate the design. For the top layer, I wrapped the diaper changing pad cover around and then used a fun baby-themed ribbon on top.
You can really have fun here. Layer with different ribbons with fun colors, words, etc. If you are thinking, how do you make it all stay on, I suggest tape and glue dots. Also, if adding decorations to the ribbon, you can use a hot glue gun to really make sure the added embellishments stay on during transport.
I personally don’t like to tape anything to diapers, What I will do, though, is use a glue dot on the rubber band to get the ribbon to stick, and then it’s a lot of pulling, tightening, and adjusting. When I used swaddles or clothing, I use tape since I know the clothes will be washed.
HOW TO FIX ANY FLAWS
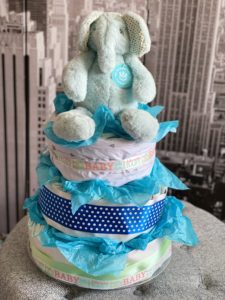
When making diaper cakes, you may have some flaws that you need to cover up. With this cake, the diapers just would not sit flush – I had some gaps that I couldn’t fix. So to fix this, I crumpled and stuffed blue tissue in between the cake layers to cover up any flaws. The added benefit to this technique was the tissue gave the cake a more full look. I topped off the cake with the stuffed elephant, and voila! The cake was done.
MY TIP: As you can see from the pictures above, my ribbons started to sag. What I failed to to do was glue my ribbons together. So to make sure everything looks tight and even, measure out the ribbons you are going to use. Then layer the ribbons how you want it. For example, my bottom layer, I did the wide white ribbon and layered the mint green and baby ribbons on top. What I should have done was use my glue dots to adhere the ribbons together, creating a unified piece. Then, when attaching it around the diaper layer, I wouldn’t have any sagging issues. Learn from my mistakes!
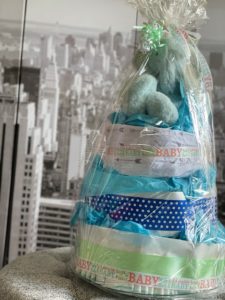
Since I was leaving this outside my neighbor’s door to COVID-19 six feet apart protocols, I wanted to protect the diapers. So I decided to use some cellophane gift wrap. To tie the top, I used some curling ribbon.
GET CREATIVE!
There is so much you can add to the cake. For example, you can place baby spoons around the cake simply by sticking them in between the diapers. You can place pacifiers around the cake, teething rings, toys, or little rubber duckies. Here are some other cakes I did which I hope inspire your creation!
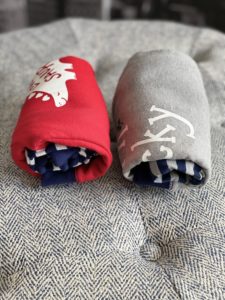
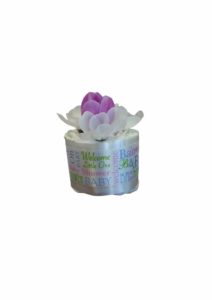
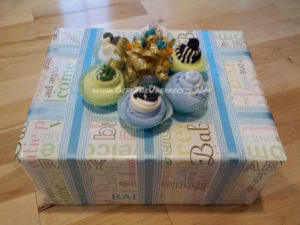
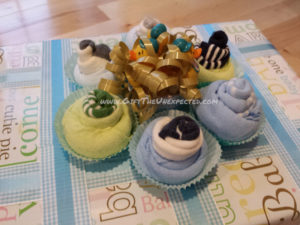
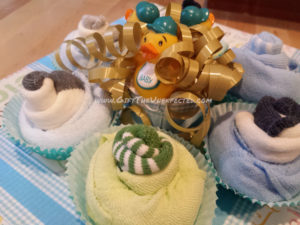
CUPCAKE TUTORIAL: Yes, those last pictures are cupcakes! You simply take a washcloth and fold it down lengthwise twice. Then take a pair of socks and place them on one side, with the top sticking out a bit. Roll the washcloth up and you have yourself a little cupcake. Use a ribbon, rubber band, tape, glue dot, etc. to hold it together. I like to put them in a cupcake wrapper to give it the full effect!
FINAL THOUGHTS
Diaper cakes are a lot of fun to create. The shopping, in my opinion, is the best part. But so is finding ways to hide or place the gifts around and in a diaper cake. Every mom-to-be I have made these for has been in awe and in love with their diaper cake.
At some showers, my gift became a centerpiece or a part of the decorations. For one friend, I created 7 jungle-themed diaper cakes that we used as centerpieces for her round tables. Not only were these my gifts to her (we are talking about 700 diapers!), but they looked beautiful on the tables, especially after we added a large helium balloon coming from the center. Added a lot of height!
So, pull out that registry list and get shopping!
And, Gift the Unexpected.



Great inspiration! And thank you for the step by step instructions.. I have always been too intimidated to try and create one of these cakes, but this post helps!
Thank you so much! You can do it!! Share pics if you try it out!
What a gorgeous idea! I knew you could buy these but would have had no idea on how to make them myself. I’ve got a few pregnant friends now so this is ideal.
Thank you so much! It’s so fun to make and to gift. If you make one, please share pics!
Love this post and those diaper cakes are adorable. I can’t wait to try making one…I have so many friends expecting and this would be a perfect gift!
Thank you so much! If you do, please share pics! And have so much fun!
Such a great idea! It’s always so hard to know what to buy for a baby shower gift and this fits the bill perfectly.
Thank you! I’m so glad you are inspired!